
Get started
Kittengrid gives you a link to preview work from a pull request on demand. Environments only start when you need them, using the same GitHub Actions infrastructure you already use for CI.
Who this guide is for
Section titled “Who this guide is for”This guide is a good fit if:
- Your application is already installed in a GitHub Actions runner for testing.
- Your application uses HTTP or HTTPS and needs a real running app, not only a static frontend preview.
- You want reviewers, QA, or agents to open pull request previews on demand.
- You want inactive environments shut down to save energy and CI runner costs.
Before you begin
Section titled “Before you begin”Make sure you have:
- A GitHub repository.
- Permission to install a GitHub App or configure GitHub Actions.
- An application that can run inside GitHub Actions.
1. Install the Kittengrid GitHub App
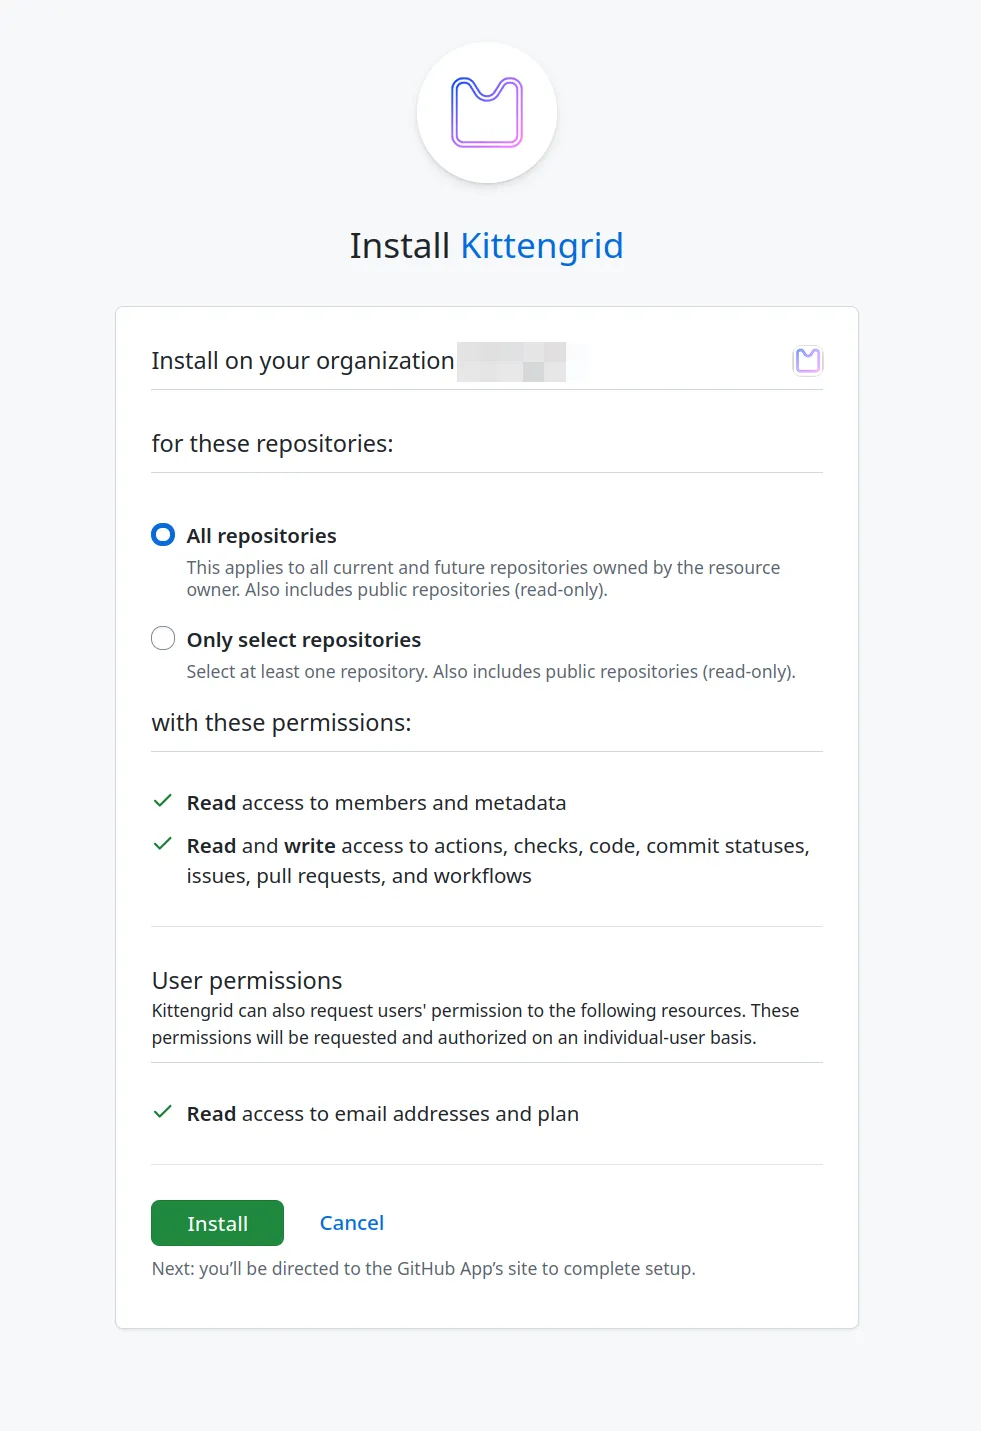
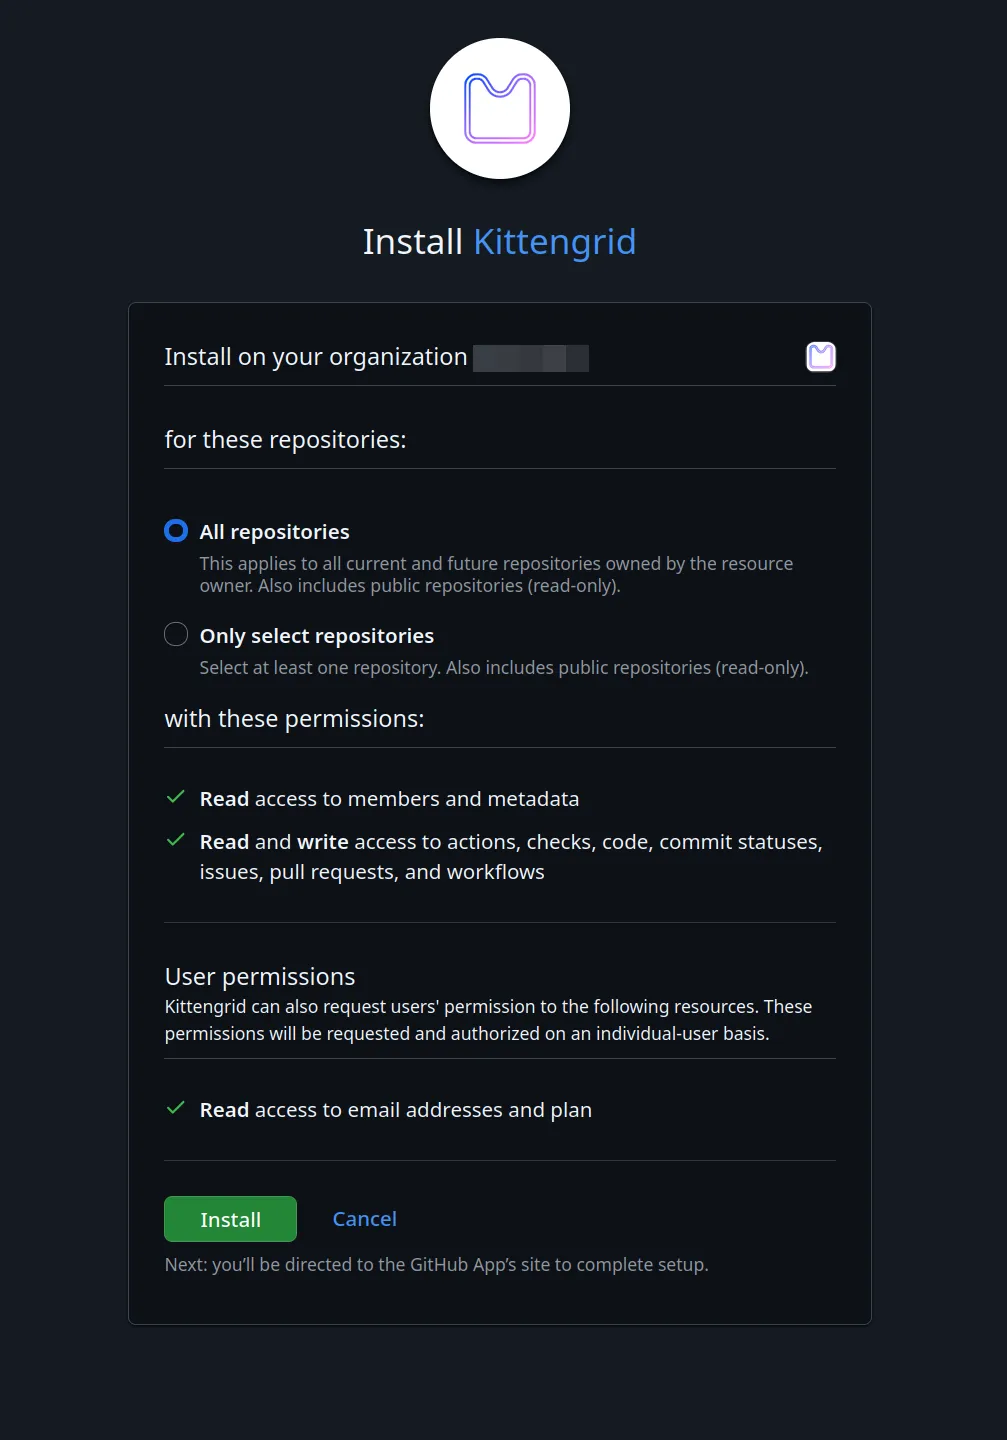
Section titled “1. Install the Kittengrid GitHub App”Sign in to Kittengrid with your GitHub account. On your first sign-in, install the Kittengrid GitHub App in an organization where you are an admin, or in your personal account. The installation controls which repositories can create preview environments.
2. Add your API key as a GitHub Actions secret
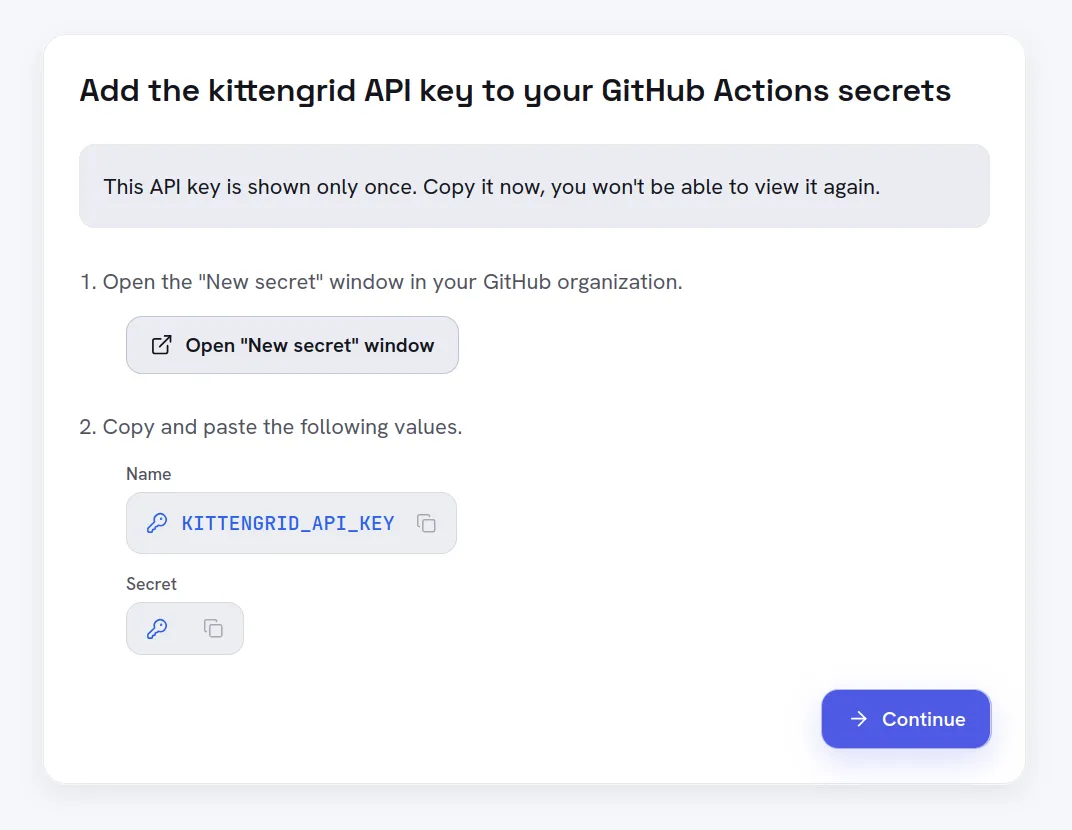
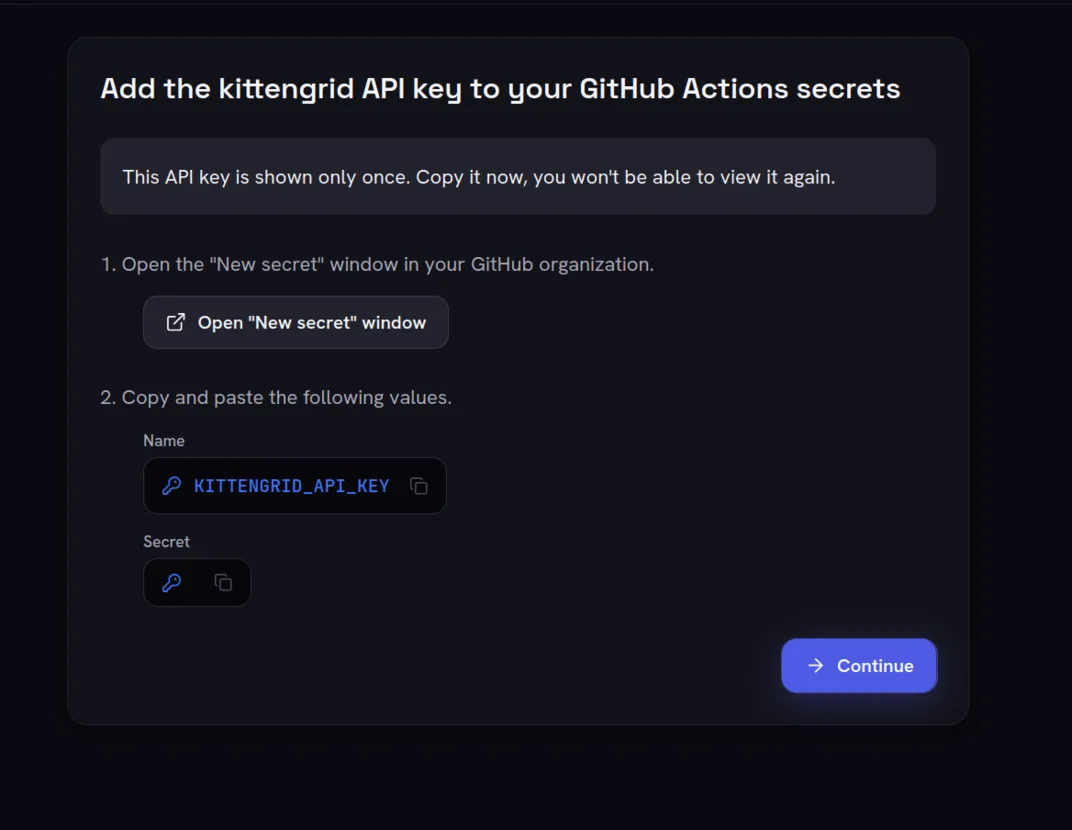
Section titled “2. Add your API key as a GitHub Actions secret”After installing the app, Kittengrid shows an API key. Add it to your GitHub Actions secrets as KITTENGRID_API_KEY so workflow jobs can authenticate with Kittengrid.
The key is only shown once. If you need a new one, go to Settings > API Keys in Kittengrid and regenerate it.
3. Create your first project
Section titled “3. Create your first project”Create a project by selecting a repository that you can access. A Kittengrid project maps to a GitHub repository, and its preview environments belong to that project.
4. Describe your application
Section titled “4. Describe your application”Add a kittengrid.yml file at the root of your repository. It declares the services Kittengrid should start and how to check that they are ready. See the full kittengrid.yml reference for every supported field.
For example, for a Node.js application that runs with npm run dev on port 3000:
services: - name: server cmd: npm port: 3000 args: - run - dev health_check: interval: 5 timeout: 5 retries: 60 path: /5. Extend your test workflow
Section titled “5. Extend your test workflow”You probably already have a workflow that checks out a pull request, installs dependencies, and runs tests. Kittengrid builds on that workflow: keep your test job, then add a second job that prepares the same application and starts the services from kittengrid.yml.
Start with your test workflow
Section titled “Start with your test workflow”For example, a typical Node.js test workflow at .github/workflows/test.yml might look like this:
name: teston: pull_request:jobs: test: runs-on: ubuntu-latest steps: - name: Checkout code uses: actions/checkout@v4 - name: Set up Node.js uses: actions/setup-node@v3 with: node-version: '24' - name: Install dependencies run: npm install - name: Run tests run: npm testKeep any setup your application needs here—for example, a database service, generated files, or environment variables. The Kittengrid job needs the same setup before it can run your application.
Add the Kittengrid trigger and job
Section titled “Add the Kittengrid trigger and job”First, add a workflow_dispatch trigger with a pull_request_number input alongside pull_request. It lets Kittengrid request an on-demand deployment for a specific pull request.
Then add the kittengrid job alongside test. It checks out the requested pull request, repeats the application setup, and runs the Kittengrid action.
Your completed workflow should look like this:
name: test and kittengridon:  pull_request:  workflow_dispatch:    inputs:      pull_request_number:        description: "PR number to (re)deploy"        required: truejobs:  test:    runs-on: ubuntu-latest    steps:      - name: Checkout code        uses: actions/checkout@v4      - name: Set up Node.js        uses: actions/setup-node@v3        with:          node-version: '24'      - name: Install dependencies        run: npm install      - name: Run tests        run: npm test
  kittengrid:    runs-on: ubuntu-latest    permissions:      actions: write      contents: read    steps:      - name: Checkout code        uses: actions/checkout@v4        with:          ref: ${{ github.event.inputs.pull_request_head_sha || github.sha }}      - name: Set up Node.js        uses: actions/setup-node@v3        with:          node-version: '24'      - name: Install dependencies        run: npm install      - name: Kittengrid        uses: kittengrid/actions/preview@main        with:          api-key: ${{ secrets.KITTENGRID_API_KEY }}          pull-request-number: ${{ github.event.inputs.pull_request_number }}
Save the workflow as .github/workflows/kittengrid.yml, or add these changes to your existing pull request workflow. If your application needs extra setup, services, or environment variables, add them before the Kittengrid step. Once pushed, each declared service receives a preview URL for every pull request.